How to prepare a developer apartment for interior design?
Buying a developer apartment in Tricity? A checklist before interior design: plans, handover, MEP, budget and timeline — so the renovation does not start in chaos.
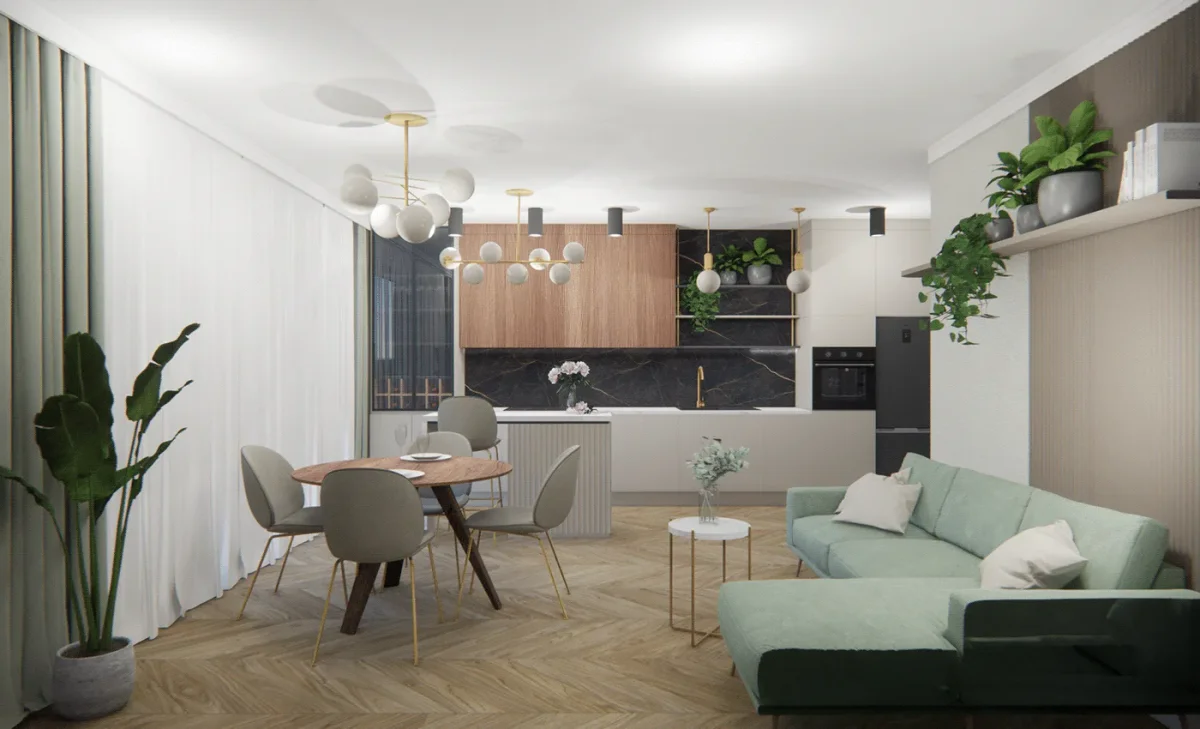
A developer apartment is a blank slate — but also a moment when expensive decisions are easy to make under deadline pressure. The developer hands over the keys, crews are waiting in line, and you want to move into a finished interior as soon as possible. Yet interior design is worth planning before you choose living-room tiles and sign with a finishing crew.
Below is a practical checklist for residents of Gdańsk, Gdynia, and Sopot — and for those who bought in Tricity but live elsewhere and plan a remote renovation.
Why start with design, not the shop?
In a tile showroom you choose what looks good on display today. In interior design you arrange function first: where the sofa sits, how much room remains for the table, where you need a socket by the bed, whether wardrobe doors block the closet. Only then do you select materials.
Without a plan, it is easy to end up with:
- poorly planned electrics and lighting;
- kitchen joinery that does not fit the dimensions;
- flooring that does not work with wall colour in natural light;
- a budget exceeded by 20–30% through last-minute decisions.
An apartment design lets you see the result in visualisations first and only then commission the work — especially important with developer units, where the starting point is raw but the layout is already fixed.
Step 1: Collect documents from the developer
To start, ask for:
- apartment floor plan with dimensions (ideally CAD or a scaled PDF);
- MEP layout — electrics, plumbing, ventilation, if available;
- finish standard — what is included in the developer price and what you do yourself;
- regulations / community resolutions — noise limits, working hours, waterproofing requirements;
- handover protocol — snag list from technical acceptance.
If you only have a paper sketch — you can still begin. At the first consultation we will decide whether an additional survey is needed.
Step 2: Do technical handover consciously
Handover is not a formality. Check:
- moisture in walls and screeds;
- falls in the bathroom;
- window and balcony door seals;
- installation operation (water, power, drains);
- wall and corner alignment — important for bespoke joinery;
- consistency between plans and actual condition.
Note everything in the protocol. Developer corrections are worth closing before designing joinery — otherwise dimensions may change during works.
Step 3: Describe how you will live
The designer is not asking about square footage for statistics — they want to understand daily life:
- how many people will live there permanently;
- whether you work from home and need a desk in the bedroom or living room;
- whether there are children, pets, or long-stay guests;
- how much storage you realistically need;
- whether the kitchen should be open or separate;
- whether you care about a zone for work, hobbies, or sport.
The more specifically you describe habits, the fewer compromises appear at the visualisation stage.
Step 4: Gather inspiration — in moderation
You do not need a finished style. Ten to twenty interior photos that calm you are enough — plus a “do not want” list: for example, gloss, dark ceilings, gold accents. Pinterest and Instagram are fine, but add photos from travel or places where you feel good.
If you are torn between Japandi and minimalism, read the comparison in Japandi vs modern minimalism.
Step 5: Set a budget in three buckets
A developer apartment needs the budget split into:
- Construction works — screed, walls, electrics, plumbing, plaster, flooring.
- Fixed finishes — doors, kitchen, bathroom, built-in lighting.
- Loose furnishings — sofa, bed, table, textiles, decor.
As a guide for a 50 m² apartment in Tricity (2026), finishes and furnishings alone are often PLN 120,000–220,000 — depending on standard. Interior design is usually PLN 8,000–25,000 depending on scope — details in the price overview.
Step 6: Plan the schedule in advance
Typical sequence after handover:
- concept design and layout approval;
- technical design + material selection;
- installation works (electrics, plumbing);
- plaster, screeds, flooring;
- joinery, doors, lighting installation;
- painting, fixture installation, furnishing.
If you order a bespoke kitchen, allow 6–10 weeks of production from design approval. If you start with tiles “by eye”, you may lose a week on corrections.
Step 7: Decide who coordinates contractors
You can run the renovation yourself, hire a site manager, or choose author supervision from the designer. For a first apartment, supervision often saves stress — especially when you are working and cannot visit the site every day.
What to prepare for the first consultation with a designer?
A printable checklist:
- apartment floor plan (PDF or paper);
- photos of the developer finish in every room;
- handover protocol with notes;
- approximate budget (renovation + furnishings);
- planned move-in date;
- inspiration folder (10–20 photos);
- list of questions for the developer / community if anything is unclear.
On that basis you will get a proposed scope: concept only, full design, or design with supervision. I also describe the step-by-step process in the article on working with an interior designer.
Summary
A developer apartment is the best moment for design — you have a clean layout but have not yet spent the budget on corrections. Start with documents and handover, describe your way of life, split the budget into three buckets, and only then choose materials.
If you are buying or have just taken over a unit in Gdańsk, Gdynia, or Sopot, book a free consultation — we will check what project scope makes sense before your renovation and how long the path to a finished interior realistically takes.